Harvesting Inner Bark for Basketry
Adventures in Bark Basketry
New basketmakers are often intimidated by the idea of harvesting bark for basketry, but I’m here to tell you that getting started is easier than you might think! You don’t need to find the perfect tree (although that is nice) and all you need are a few tools and some willingness to get your hands dirty and just give it a try.
Locating a Tree
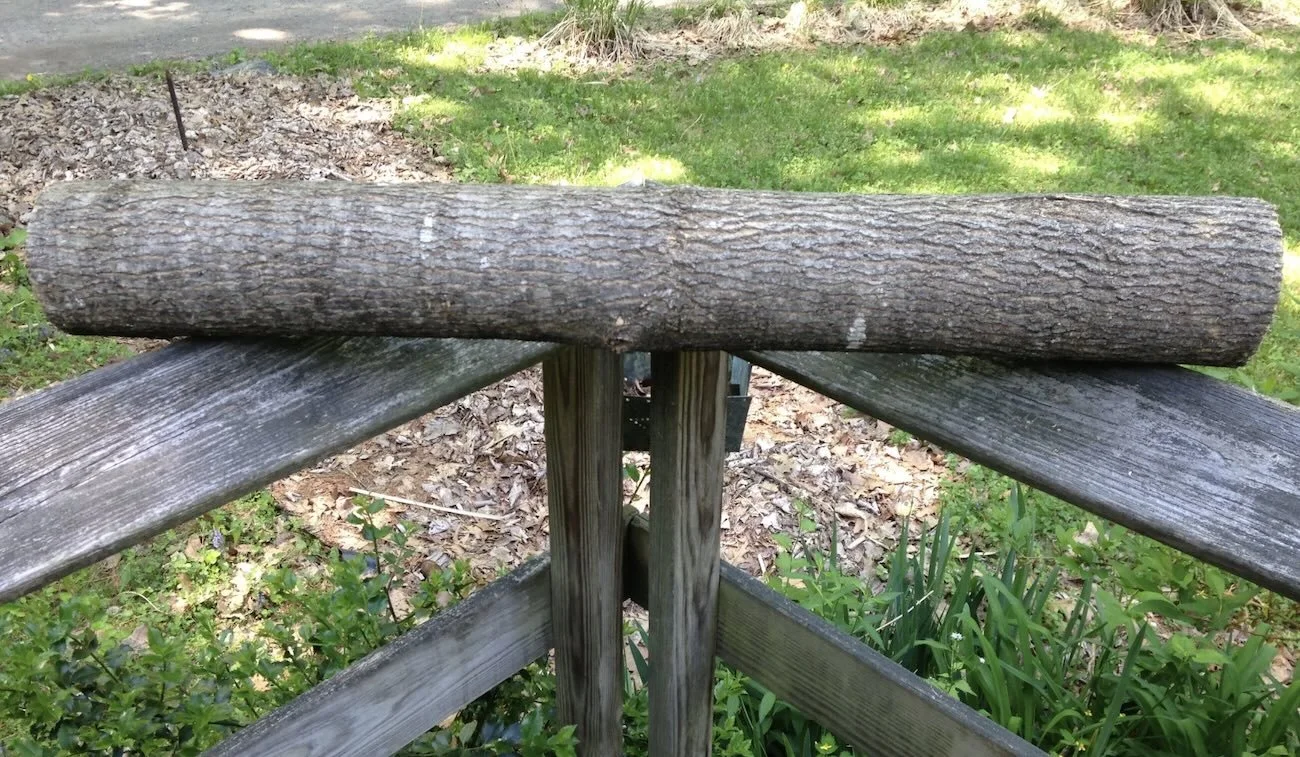
If you are cutting a tree you should always try to leave the forest healthier than you found it, to the best of your idea. Choose trees that are growing in abundance and don’t harvest if it is the only one of its species in the area. A tree that is healthy, completely straight without many branches, and anywhere from 4”-16” in diameter is a good place to start. However, I often use trees that are being cut for another reason by arborists so don’t always get to use the perfect basket tree. If it has a section that is at least 5 feet long without branches that is enough. It does still have to be pretty straight and healthy at the time of cutting though.
Reach out to neighbors, community members, landscapers, and arborists to form connections and when they are cutting a tree you can go and peel the bark without having to cut one yourself. This is a great way to build community.
Only some species of tree have bark that peels. In my area of upstate New York I often use tulip poplar, black walnut, basswood, and elm. I’ve also used white ash, although the ash trees are in decline due to the emerald ash borer so I don’t recommend cutting them and by the time they show evidence of insect damage the inner bark is too damaged to use for basketry unfortunately. The images in this article are of white ash from almost ten years ago, before the emerald ash borer was a problem in my area.
Layers of the Log
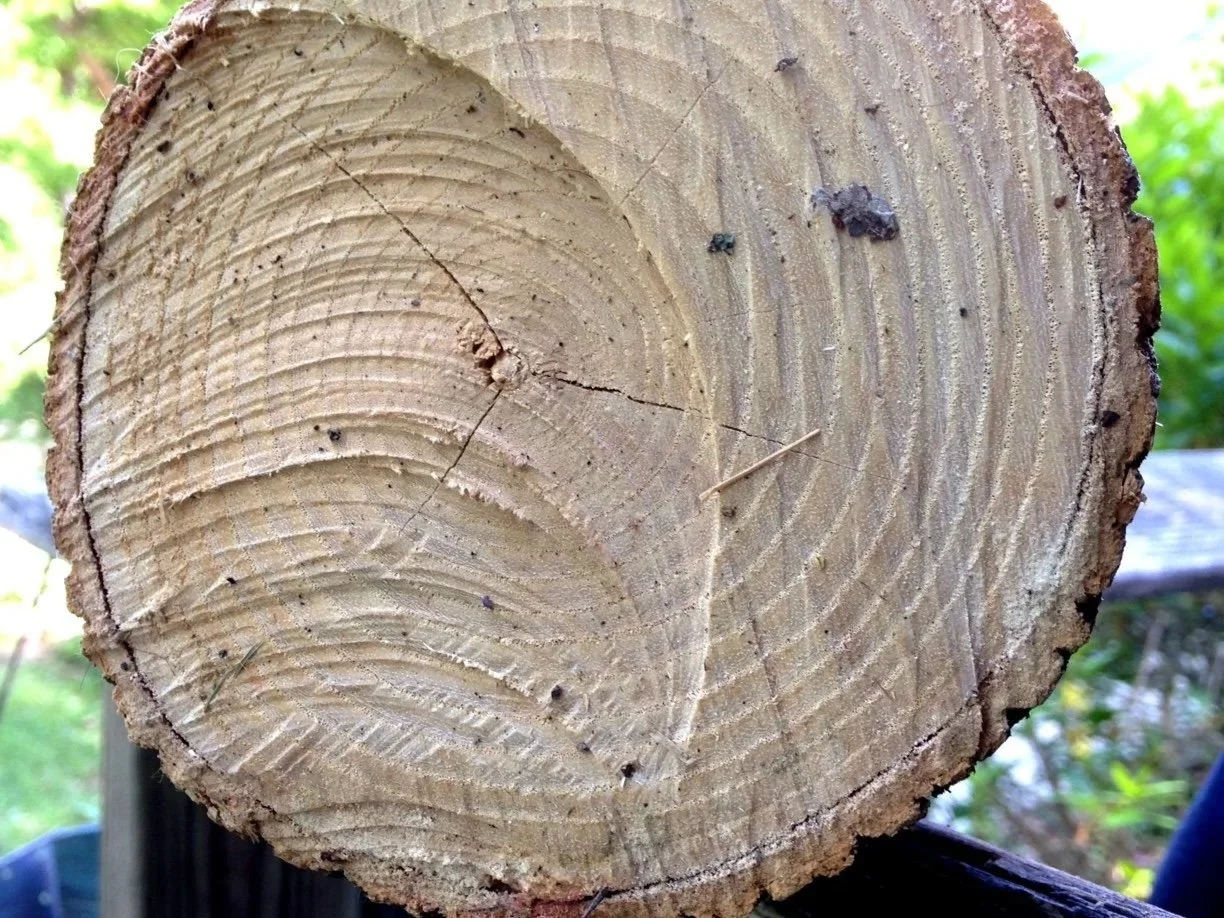
Trees have a couple different layers to them when you look at the cross section. On the outside is the rough, gray, outer bark. Then moving inwards you have a layer of inner bark, which is softer and pliable. (When people refer to using 'bark for baskets' they are most likely referring to this layer of inner bark) Then you have the wood itself, which is hard and well, solid wood. In the photo below you can see that the inner bark with it's outer bark shell is the darker, orangeish brown layer on the outside. It is started to separate from the wood just a little since I let this log sit a week before processing.
Make it stand out
Harvesting the Inner Bark
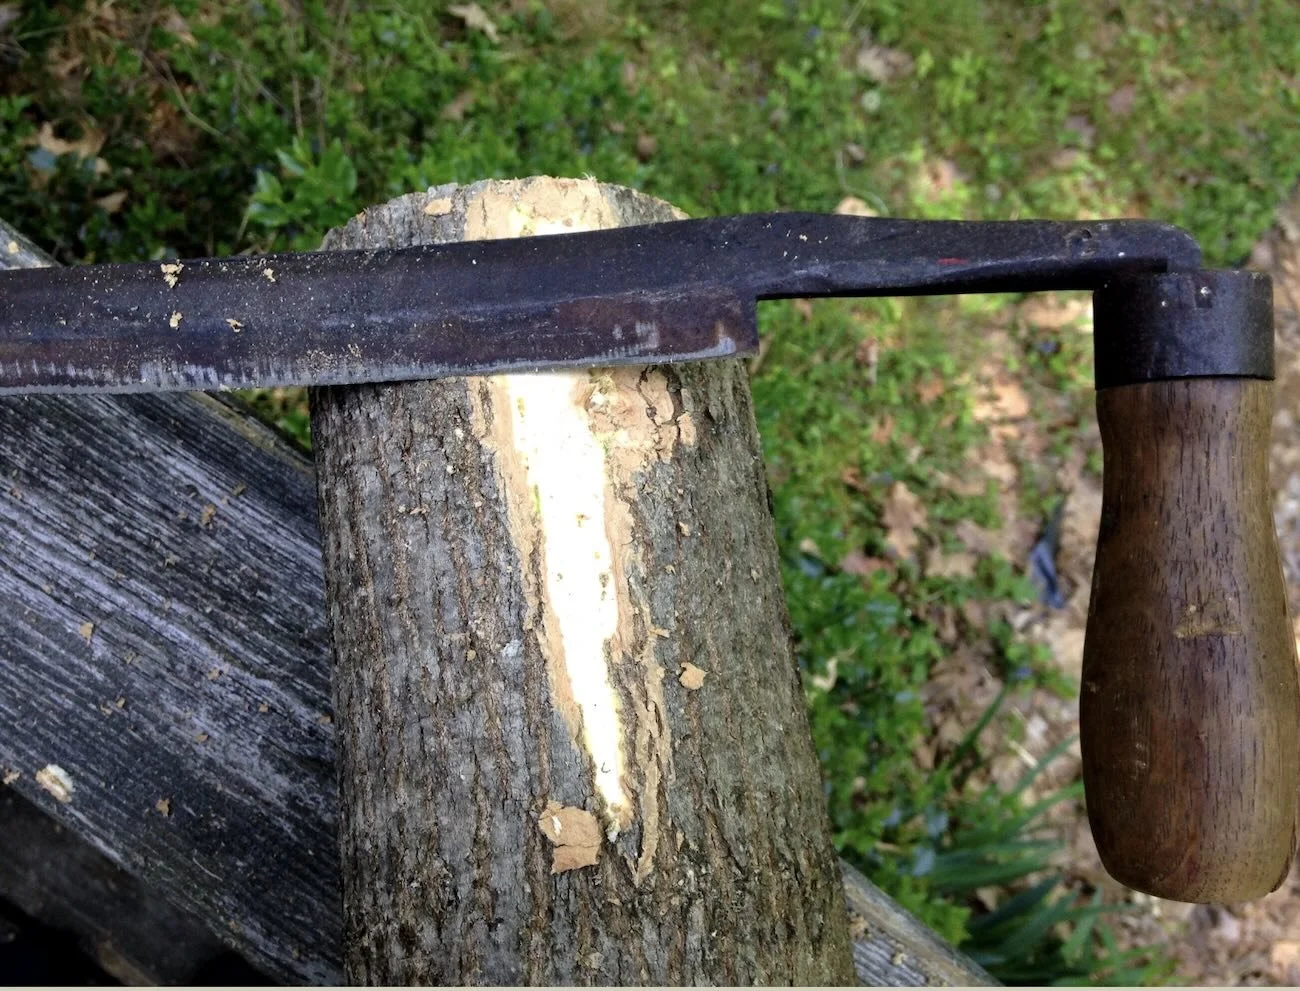
1. Remove the outer bark
The first step is to use a draw knife to remove the outer layer of flaky outer bark. A drawknife is an essential tool for this process. I got mine at a flea market and sharpened it on a grinding wheel to get the edge back. Make sure you slice deep enough to actually remove most of the outer bark, but not so deep that you destroy the precious layer of inner bark. It is a fine line- practice on an end or an off cut of wood instead of your most perfect piece until you get the hang of it.
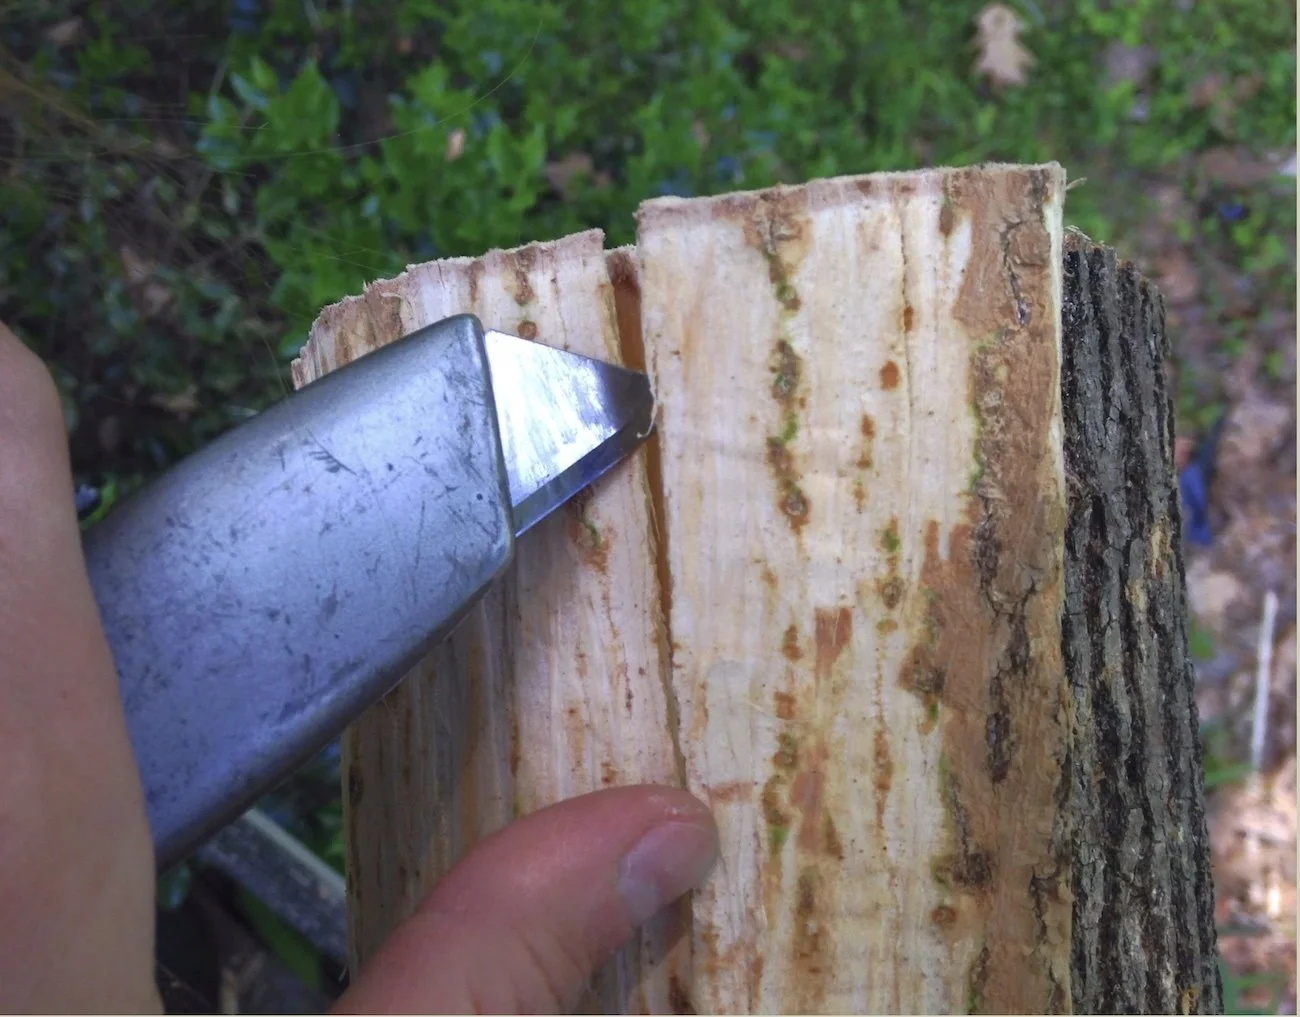
2. Cut Strips
Once the entire tree has been cleaned of outer bark it is time to peel strips of inner bark off. Use a sharp utility knife to cut a straight line all the way down the length of the log. Then I cut another line the entire length of the log about two inches to the side of it, making a strip. You could do a smaller or wider strip as well.
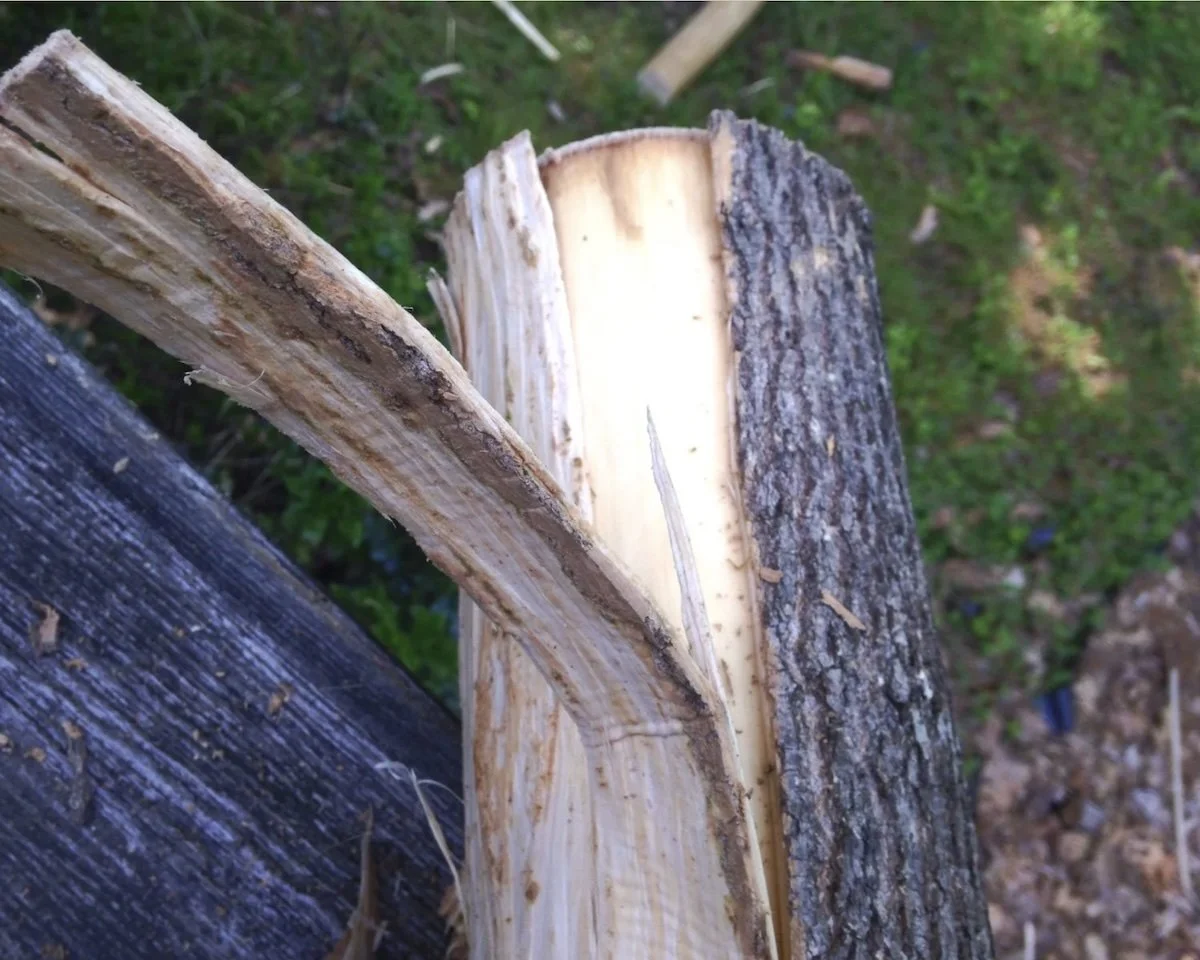
3. Peel the strips off
Work your knife or another tool into the edge to get started and peel the entire strip off like peeling a banana! It's really easy and rewarding. Continue peeling strips off until all the inner bark strips are off the log.
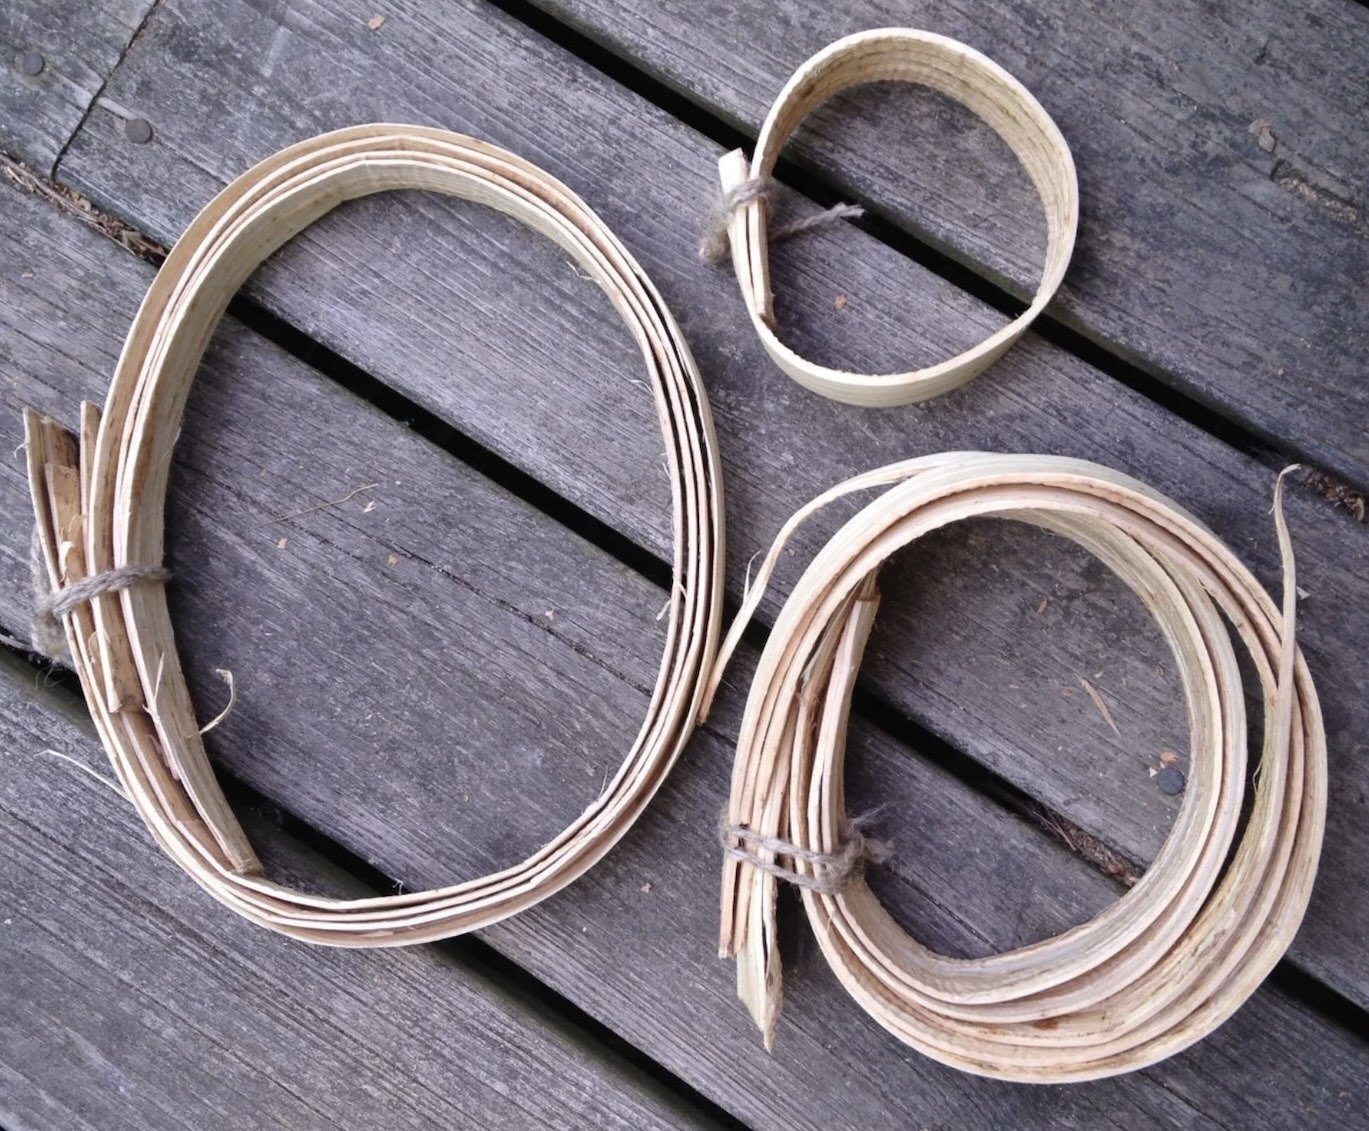
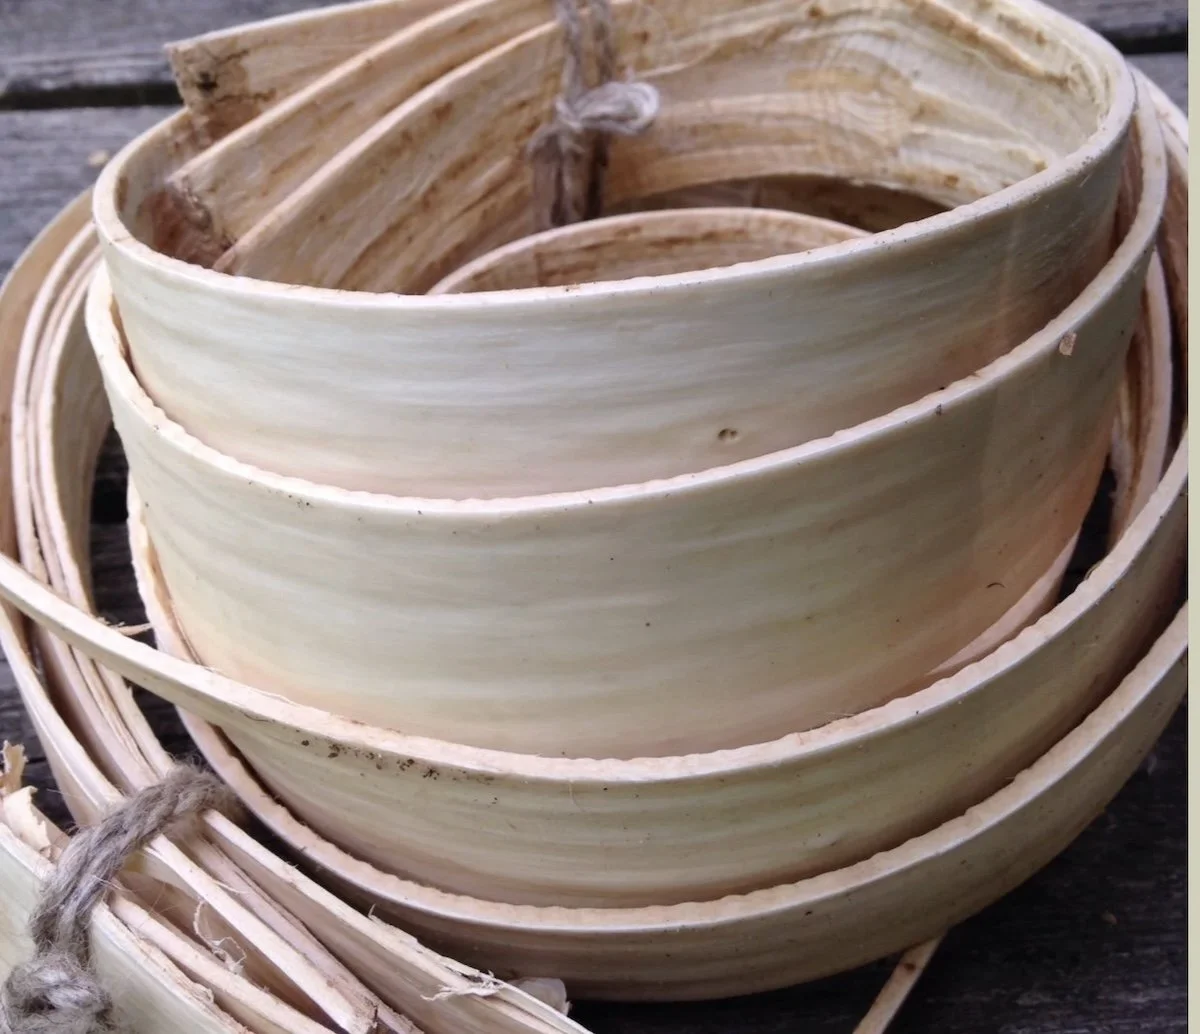
4. Coil for storage
You can then coil up your pieces of inner bark and let them dry. To use them for weaving just rehydrate them in hot water for up to an hour depending on how thick they are. After you have soaked them you can cut them into thinner strips or split them.
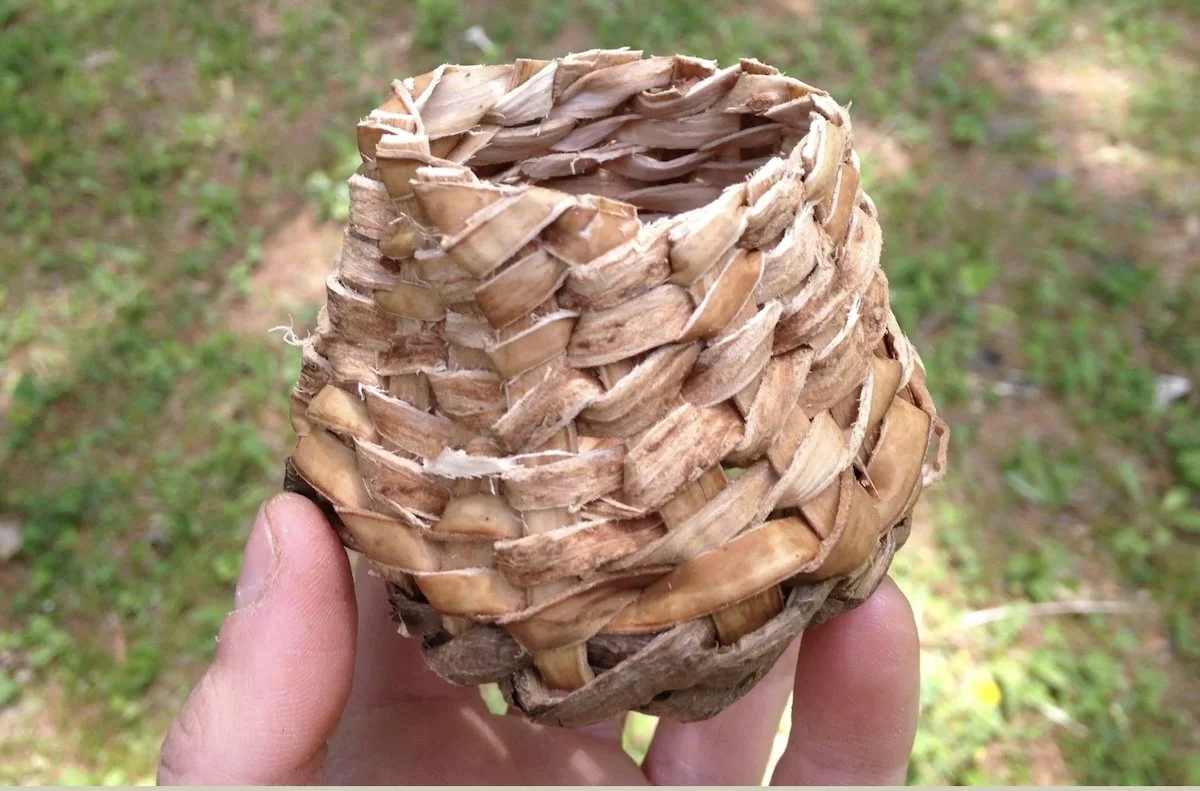
5. Weave a basket!
This is one is just a quick in-the-moment basket, but I still love it : )